We Bring Science, Technology & Entertainment For You.
Movie Gen: A Mind Blowing AI Video Generator By Meta?
Meta has recently unveiled Movie Gen, a cutting-edge generative AI model designed for creating and editing…
Canvas by OpenAI: A Collaborative Workspace for Writing and Coding
OpenAI has recently introduced Canvas, a new workspace interface for ChatGPT designed to enhance collaboration on…
All You Need to Know About Hurricanes
Hurricanes – those massive, swirling storms that can make the calmest beach day a distant…
What if a global pandemic wiped out a significant portion of humanity?
The idea of a global pandemic wiping out a large chunk of humanity sounds like…
Technology
Movie Gen: A Mind Blowing AI Video Generator By Meta?
Meta has recently unveiled Movie Gen, a cutting-edge generative AI model designed for creating and editing videos and audio. This tool allows users to generate high-definition…
Canvas by OpenAI: A Collaborative Workspace for Writing and Coding
OpenAI has recently introduced Canvas, a new workspace interface for ChatGPT designed to enhance collaboration on writing and coding projects. This…
What Makes Reflection 70b the World’s Most Powerful Open-Source Ai Model?
Reflection 70b, developed by AI writing startup HyperWrite, isn’t just another AI model—it’s the most powerful open-source model equipped with…
Let’s Forget Sora And Focus On Minimax, A New Ai Video Generator
What is MiniMax AI? MiniMax is a new AI-powered text-to-video generation platform that can create high-quality, realistic videos from text…
How to Activate eSim on iPhone and Android?
eSIMs are digital SIM cards that can be activated directly on your device without the need for a physical SIM…
What is CSS and How Does it Work?
CSS, or Cascading Style Sheets, is the unsung hero of web design, transforming plain HTML into visually appealing websites that…
HTML in the Real World
Think of building a website like constructing a house. HTML provides the structure – it’s the walls, doors, and windows.…
HTML Metadata and Head Section
Ever wondered what’s happening behind the curtain of a web page? While the visible content is crucial, the Metadata and…
Science
All You Need to Know About Hurricanes
Hurricanes – those massive, swirling storms that can make the calmest beach day a distant memory – are one of nature’s most powerful forces. But…
Evolutionary Psychology: Are We Really Just Modern-Day Cave People?
Ever wondered why we react a certain way or why some behaviors seem instinctual? Evolutionary psychology dives into human behavior…
All You Need to Know About Graphene, its Applications and Specialty
Graphene — sounds fancy, right? Well, let’s break it down. All you need to know about graphene and its applications…
All About Exoplanets, and Discoveries
Exoplanets are the intriguing celestial bodies that orbit stars outside our solar system. Imagine a universe teeming with planets, some…
Understanding Black Holes
Understanding black holes can feel like trying to comprehend a cosmic riddle wrapped in a mystery, all while floating in…
Proteomics: Study of proteins and their functions
Proteomics is a rapidly advancing field that promises to revolutionize our understanding of life at the molecular level. Proteins, the…
Synthetic Biology: Designing biological systems for specific purposes
Synthetic biology is an exciting field that combines engineering principles with biological systems to create novel organisms capable of performing…
What is Angelman Syndrome?
Angelman syndrome is a rare genetic disorder that affects the nervous system. It’s like a puzzle with missing pieces, causing…
What if …?
What if a global pandemic wiped out a significant portion of humanity?
The idea of a global pandemic wiping out a large chunk of humanity sounds like something straight out of a doomsday movie. But, what would…
What if the Earth’s magnetic field collapsed?
Imagine waking up one morning, and instead of the usual weather report, the news tells you that the Earth’s magnetic…
What if the oceans dried up?
Imagine waking up one morning, and instead of the vast blue expanse of the sea, you’re greeted by endless stretches…
What If All the World’s Forests Were Cut Down?
All the forests in the world suddenly vanished. What would that even look like? You might think it’s just fewer…
What if renewable energy completely replaced fossil fuels?
Imagine waking up one day, flipping on the lights, charging your phone, and brewing your coffee, all powered entirely by…
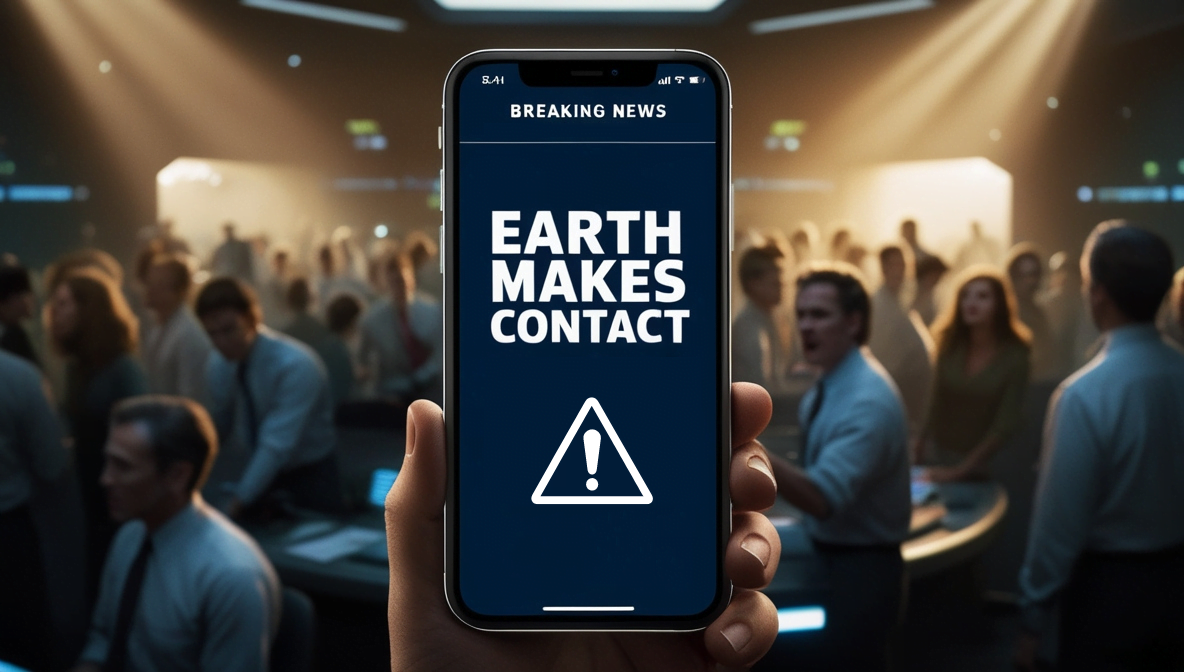
What if Earth Makes Contact with Advanced Alien Civilization
Imagine waking up to the news: “Earth Makes Contact with Advanced Alien Civilization!” That’s a headline that would certainly shake…
What if There Was No Concept of Gender?
Imagine waking up in a world where the concept of gender simply didn’t exist. No pink for girls, no blue…
What if Humans Could Only Communicate Through Music?
What if humans could only communicate through music? Imagine a world where melodies replace words, and harmonies convey emotions. This…


